Skim Coat Surface After Removing Ceramic Tile
What you’re left with is a godawful scarred battlefield of substrate. You’ve got pits, scars, mortar lumps, and anything but the smooth surface you need in order to install new tile. You’ve got two options at this point:
- Say “screw it all” and just lay a new sheet of backerboard over the old backerboard, and call it a day; OR
- Attempt to fix the messed-up backerboard.
If you choose option #2, then you’ve got a bit of work ahead of you, namely skim coating the surface to make it smooth.
A skim coat is one of those cool techniques that tilers and drywallers have known for ages, to make things smooth again without the pain and expense of an all-new installation. Unfortunately, skim coats are not emphasized in home remodeling books, because they don’t give as good a surface as a new substrate.
But that’s pretty obvious, isn’t it?
How to Skim Coat

Important: do not use this skim coat as your mortar base for the next layer of tiles. This is a separate step.
- Mix up some thin-set mortar, or buy pre-mixed thin-set (my preference).
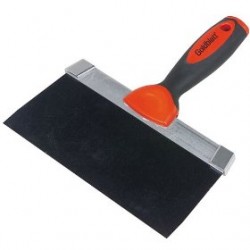
- Slop the mortar onto the surface with a medium-sized trowel, around 6 inches wide.
- Smooth down the mortar with a wide trowel (12 inches). This is your skim coat.
- Let dry.
- Realize this your new skim coat will not be perfectly flat. All skim coats have subtle waves and undulations.