Build Easy Rope Light / Wiring Channels from Cheap Trim
 Rope lights hidden in a ceiling-high channel and casting a glow against the ceiling is a fantastic way to create mood lighting. For home movie theater builders, rope lighting is almost a necessity. What’s the easiest way to build channels or chases for rope lights?
Answer
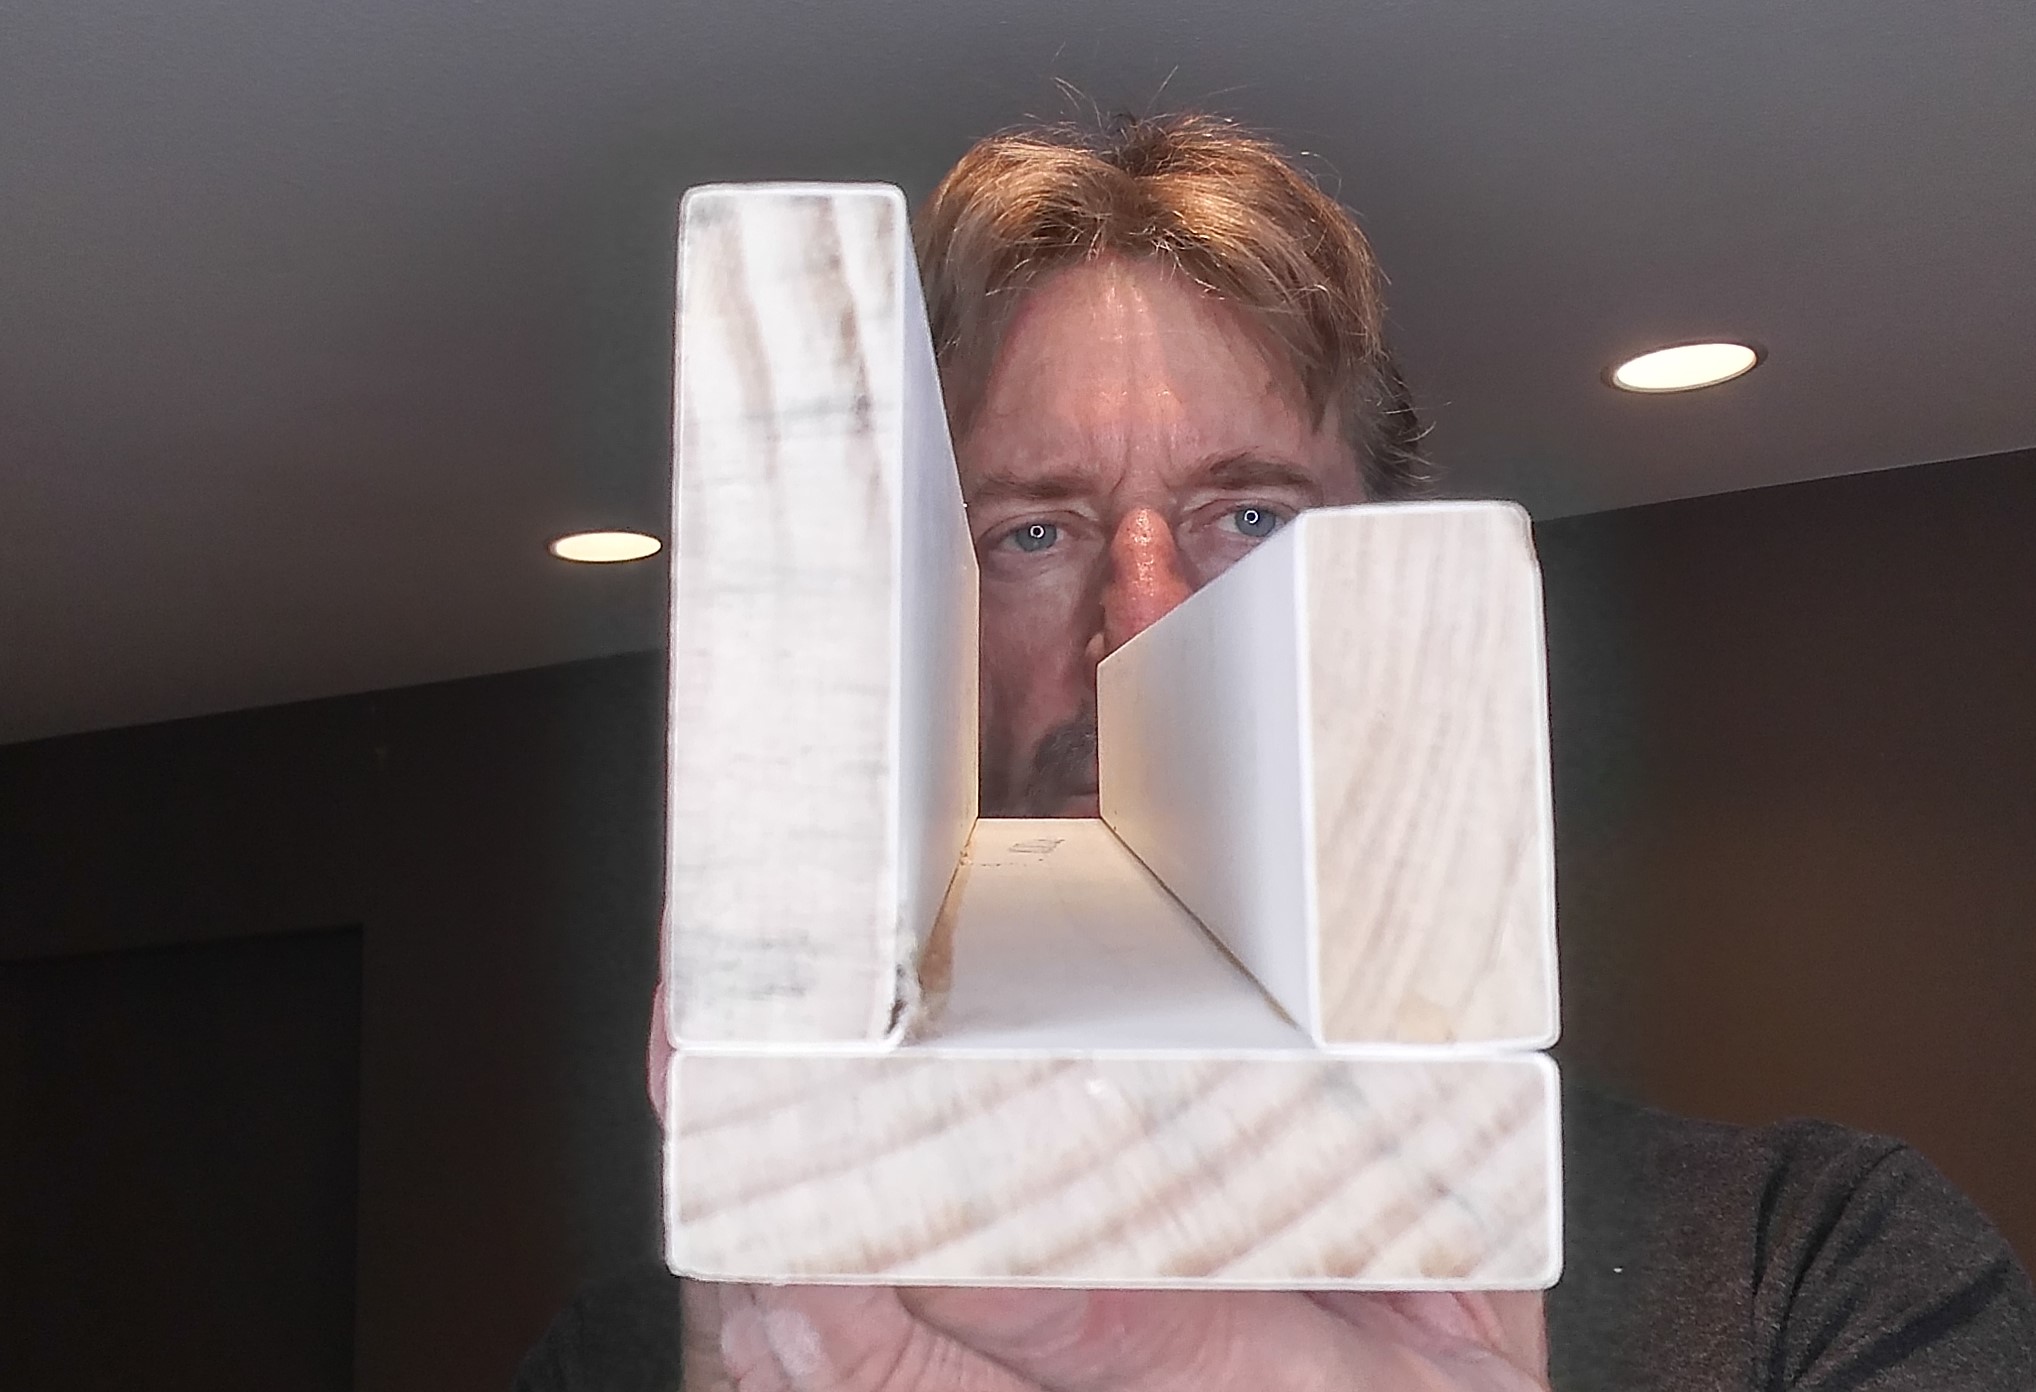
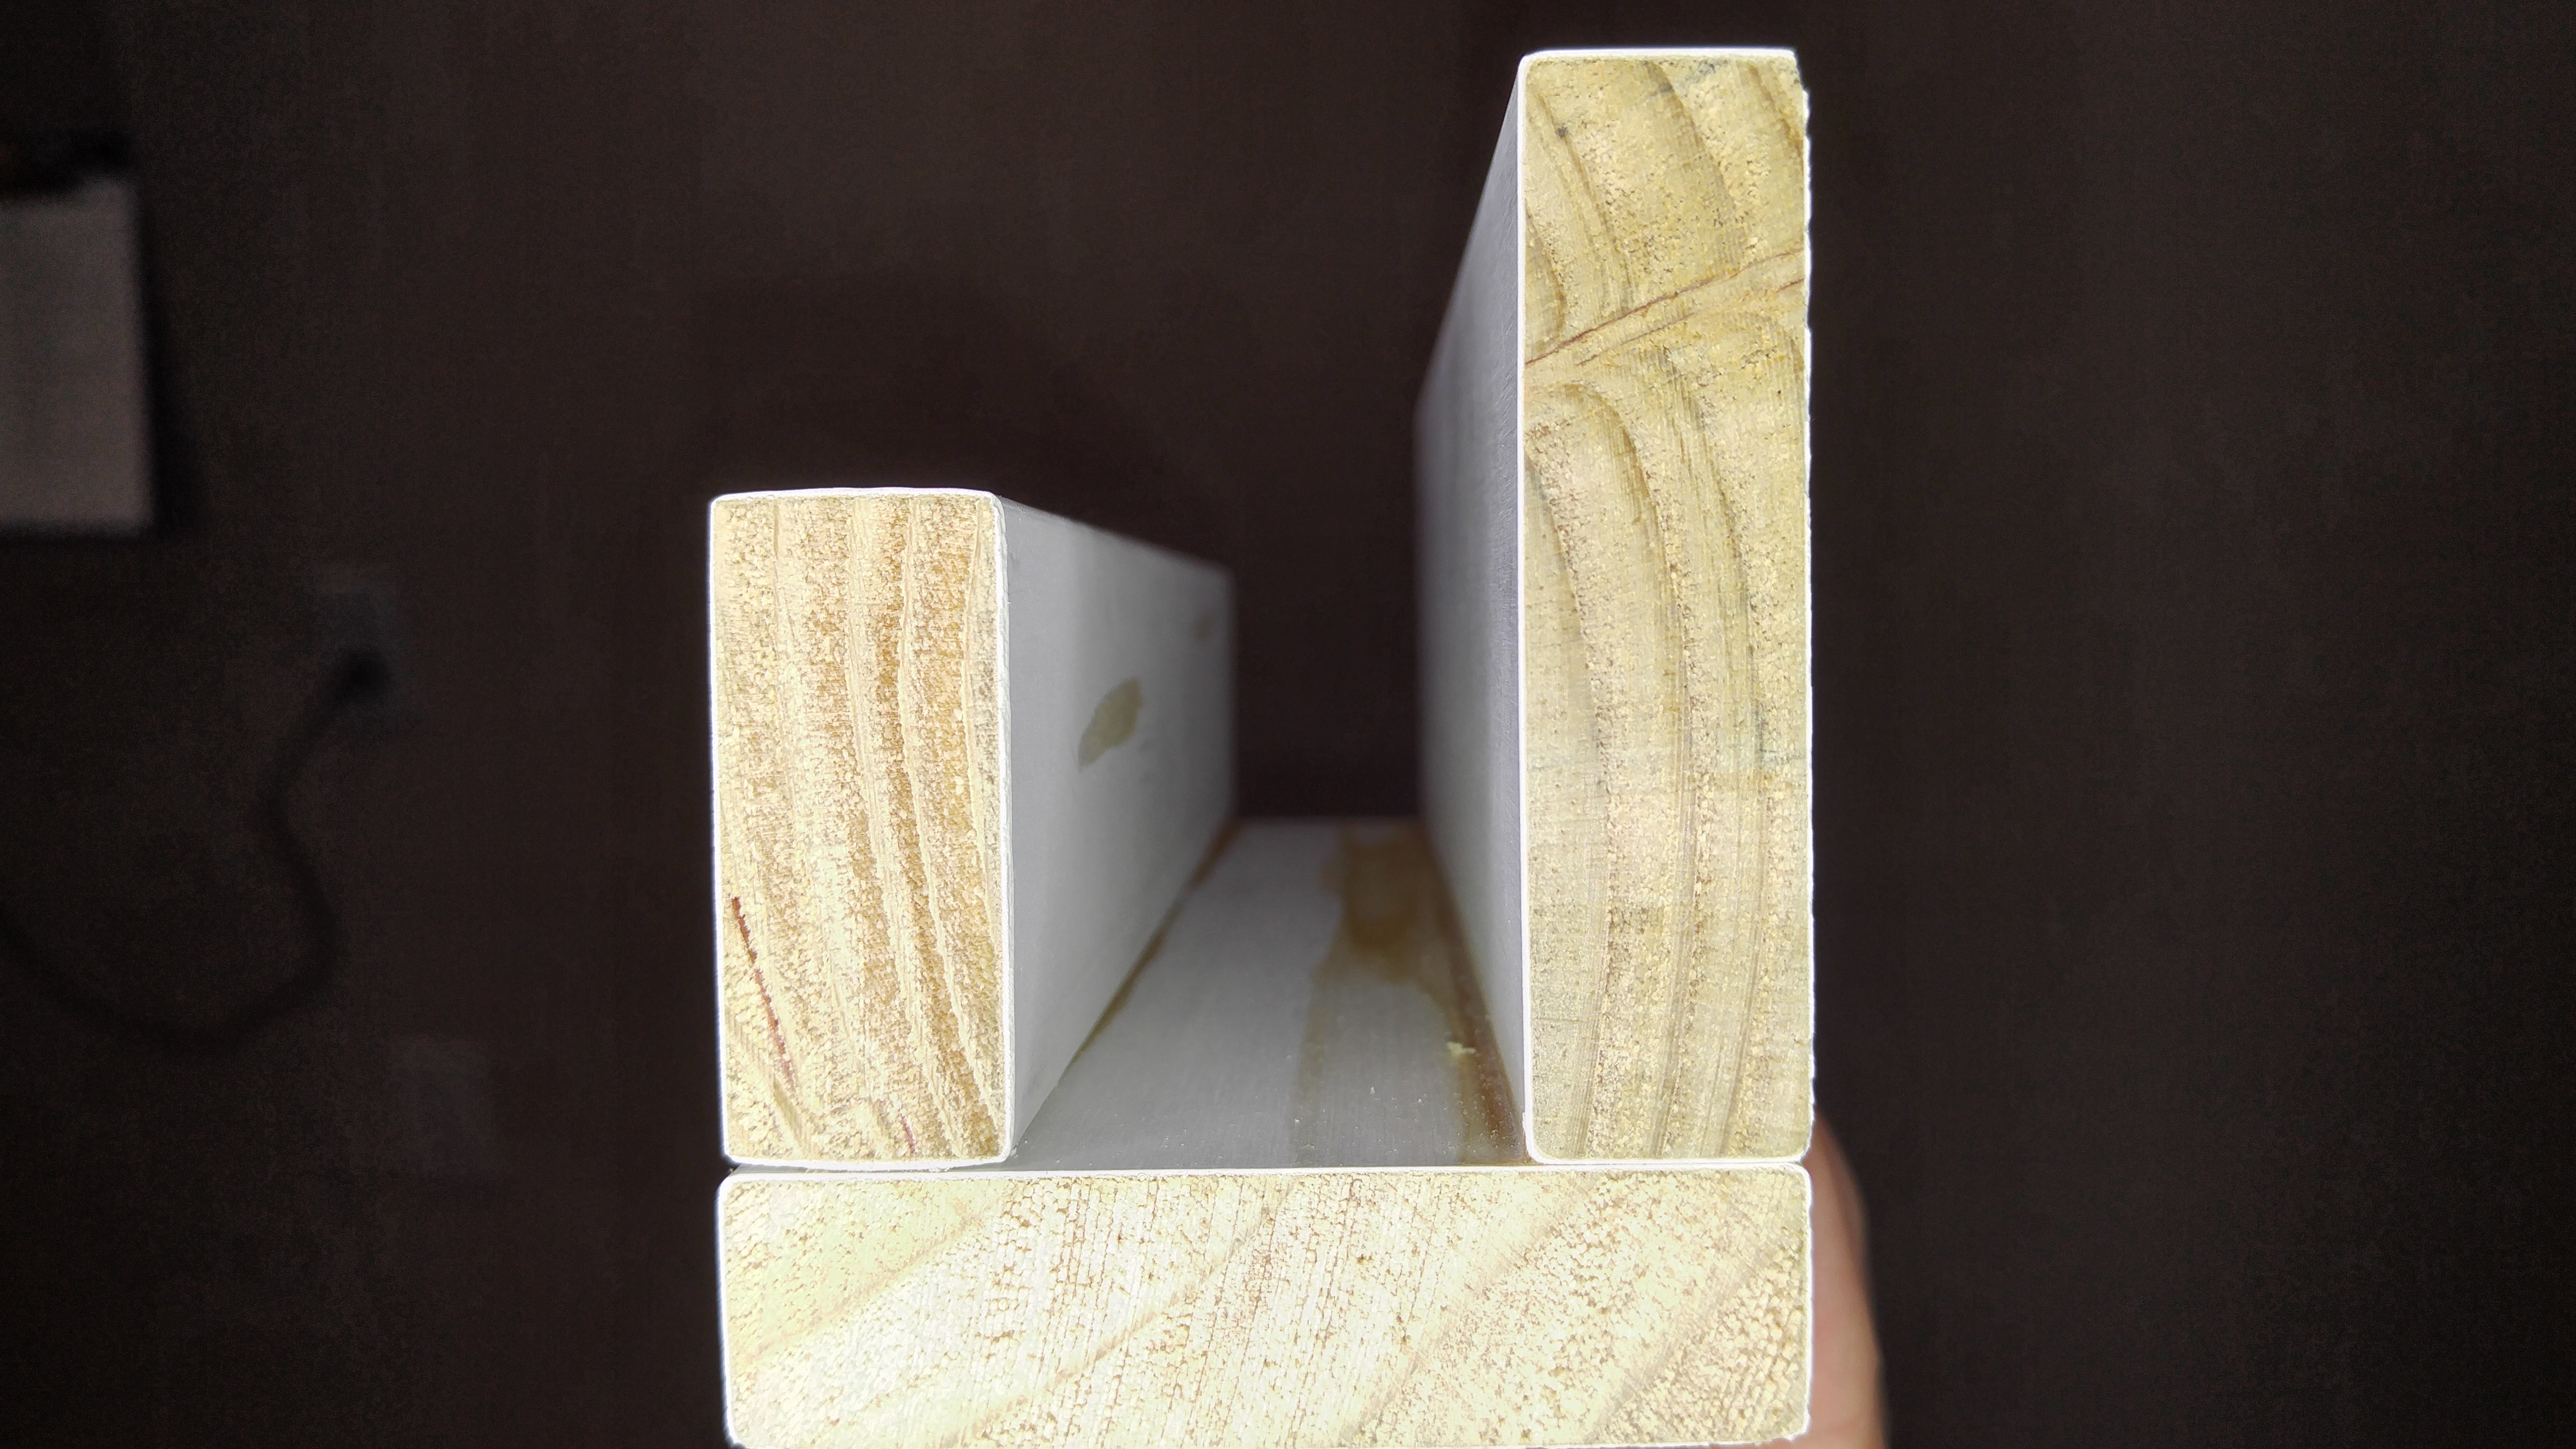
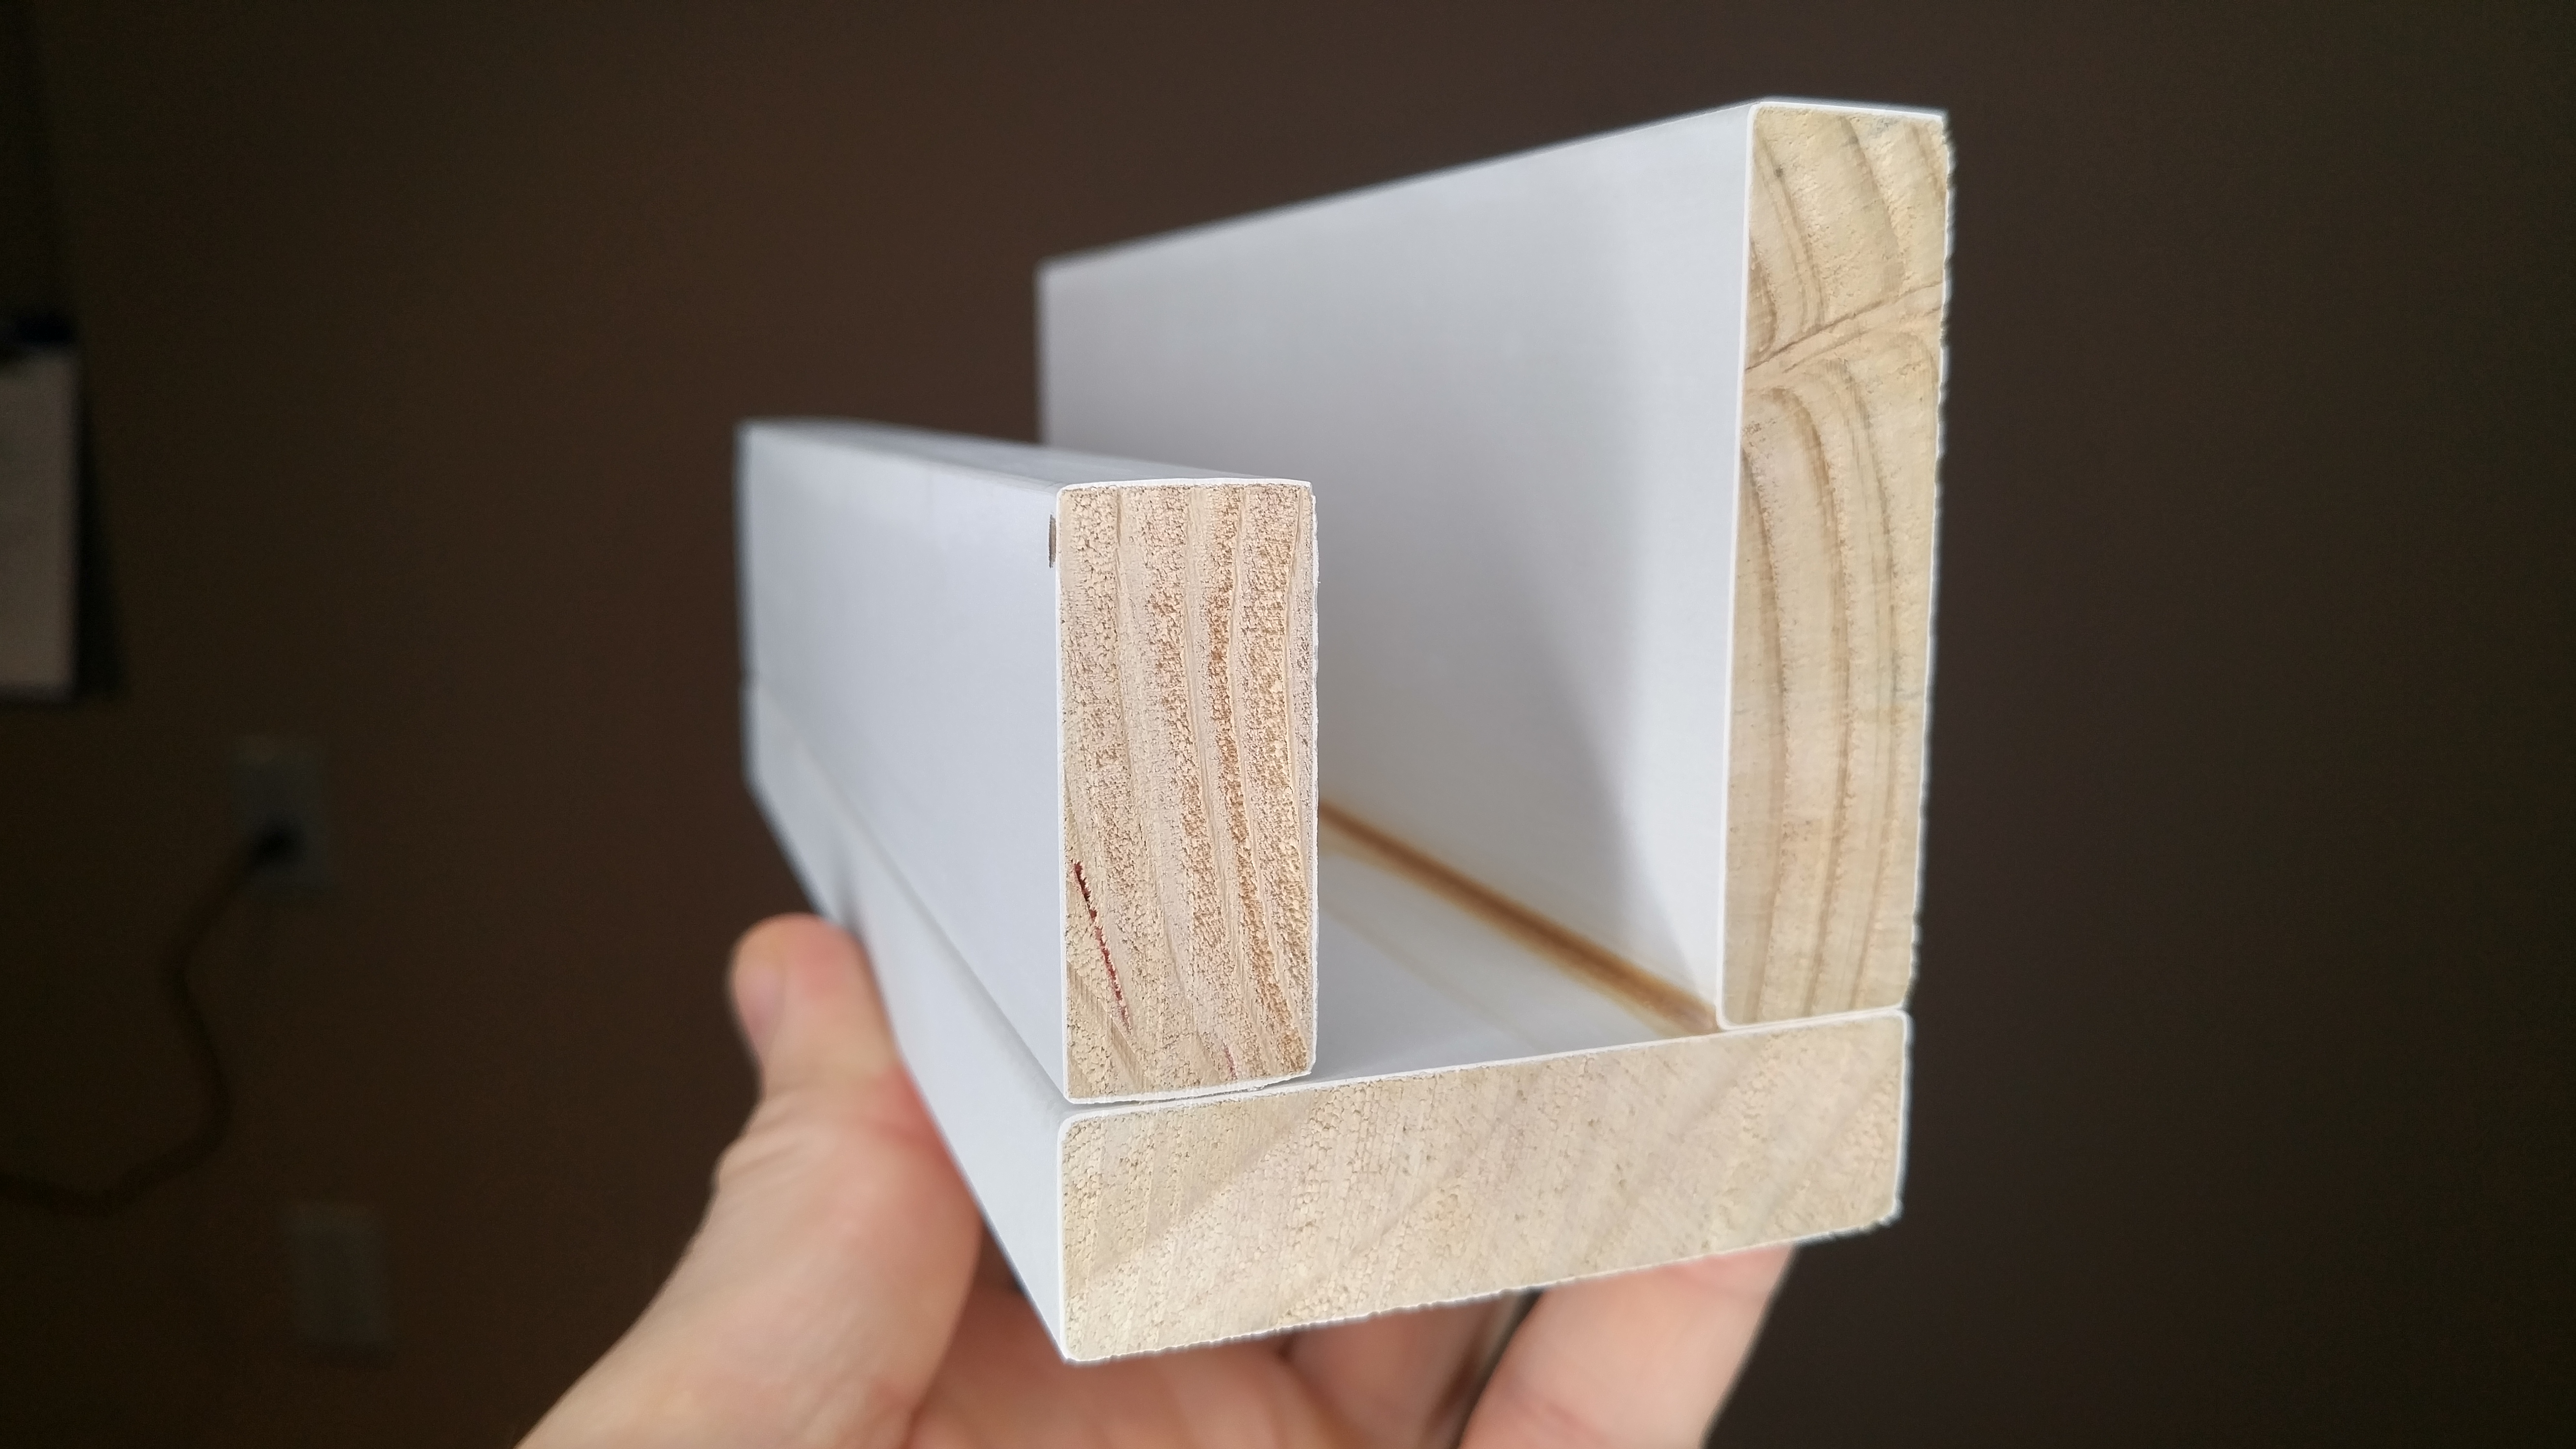
Build chases out of 8-foot long finger-jointed pine trim. Each length of chase consists of three boards: two 1 x 4 boards and one 1 x 3 board. Use one 1 x 4 as the base, then nail the other two boards on top to form the walls.
Details
Agonizing over how to build your rope light channels? Tear your hair out no longer. While all light channels do need to be adapted to each user’s particular needs, I found one that works perfectly for me.
First, determine how much space you need. The older style thick, plastic-encased rope lights are great for outside uses, but indoors you do not need that heavy casing. Using thin, tape-like LED “rope” lights is vital because this frees up a vast amount of space. Greater space means that the lights can lay flat, without the problem of them accidentally sticking up or being seen by tall people. It also allows you to add other wires, like speaker wires or movie screen controllers.
My wire chases use cheap pine trim boards and are easy to build with a power brad nailer and wood glue. Because my room is fairly small, I wanted them to hug as tight to the wall and ceiling as possible. At the same time, I wanted them far enough away from the ceiling to allow the lights to cast a glow on the ceiling. There also has to be enough space between the top edge of the outer “wall” of the chase and the ceiling, so that you can get your drill in there to attach the chase to the wall. Finally, you need enough space to get your fingers in the chase to arrange the wires.
The Materials

- Two 1 x 4s (Actual width: 3.5 inches)
- One 1 x 3 (Actual width: 2.5 inches)
The brand of trim that I used, and which I like using for other parts of my house, is a primed pine board called Sum Guard EX by Composite Technology International. I wish I could give you a Home Depot equivalent but they have nothing like this.
The Sum Guard EX has a prime coat that is far thicker than the usual primed board. It really is more priming than I need for an interior application, but I like the board so much because it is smooth, straight and true, and it has more-or-less square edges. No, the boards are not defective. Rather, CTI adds some kind of very slight camber to the boards that probably has a use when it comes to trimming doors and windows. Either way, the camber can either matter to you or not, as you will see below.
Along with the trim, you really should have an electric or pneumatic nailer. Your job will go so much faster (since you’re producing many of these chases). Mostly, though, you’ll be able to hold the boards in place with one hand, while the other hand does the nailing. You cannot do that when hand-nailing finish nails.
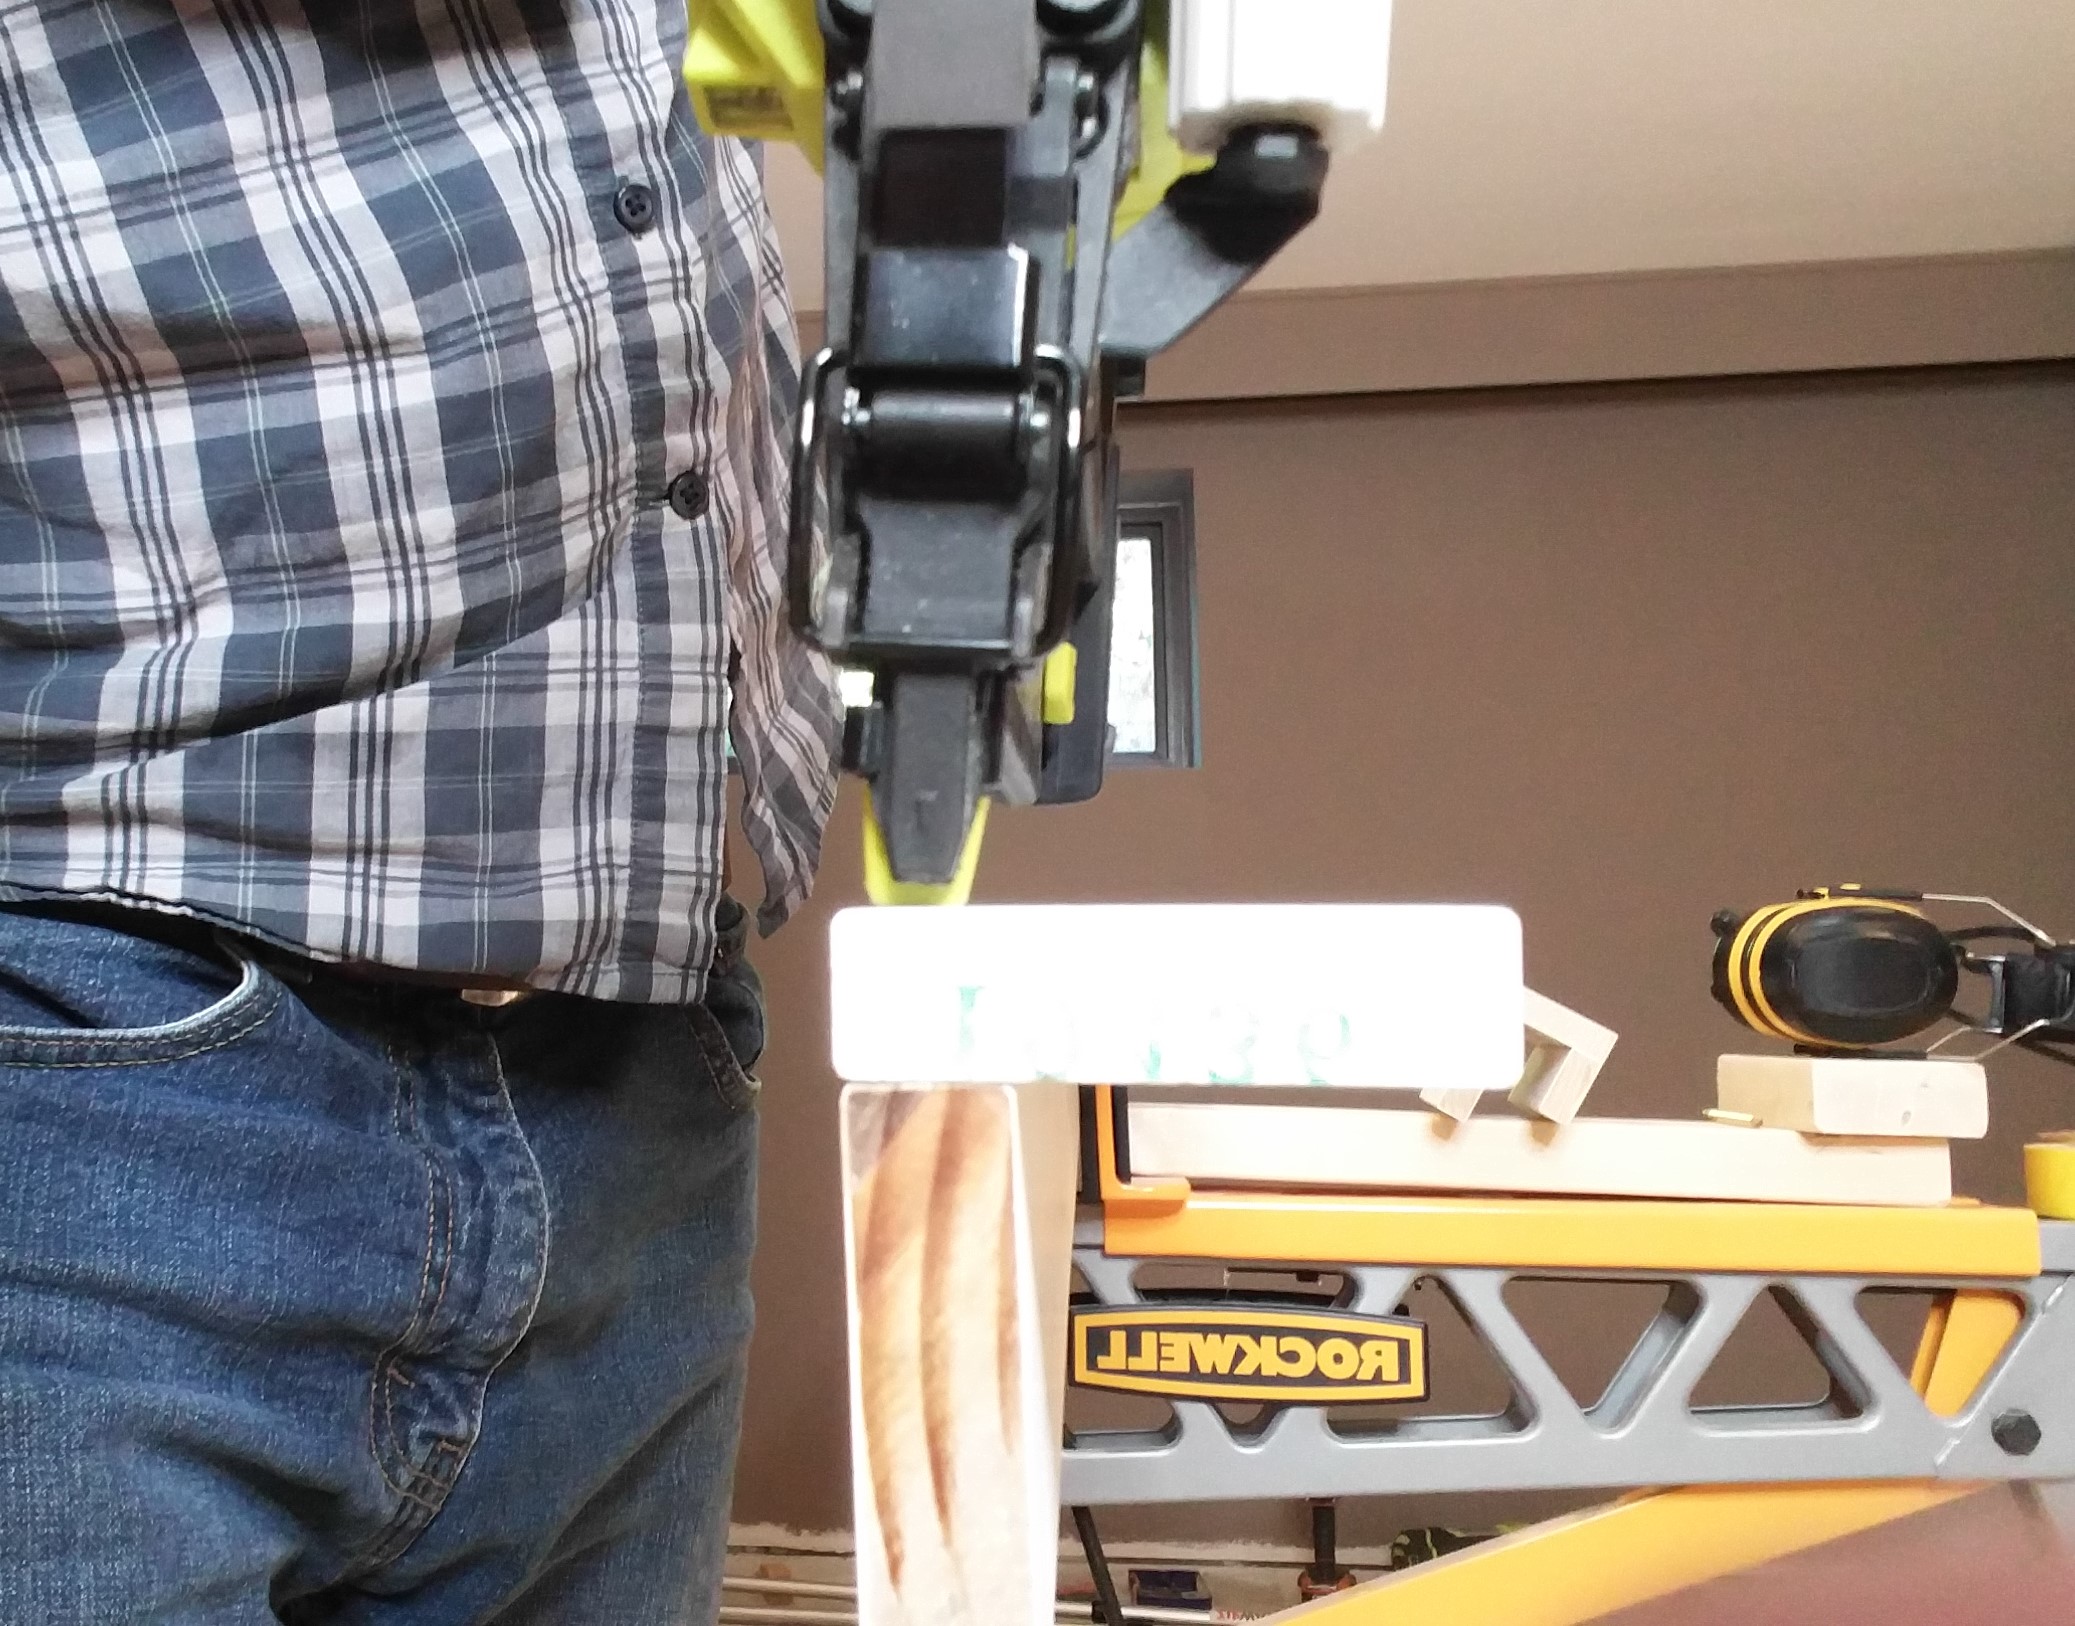
Above photo: This is me pretending to nail one board to another.
Variations and Making the Thing Better

As with most home remodeling projects, this one is a compromise between ease and quality. Here are variations you might consider:
Front Wall Overhang
One variation I considered but eventually decided not to go with was the one pictured directly above. The front “wall,” instead of being a 1 x 3 board would have been yet another 1 x 4 board. It would have been tacked to the front of the base 1 x 4 board with an overhang that had the benefit of obscuring seams between the boards. It also would have given me flexibility in raising or lowering the height of that front wall, rather than having to go with the 2.5 inches mandated by the 1 x 3 board.
Longer Trim Boards Mean Less Seams
One benefit of using trim is that trim comes in longer versions than 8 foot. I chose 8 foot because it was easier to handle and because I would have only saved one or two seams by using longer boards.
Wood Filling Horizontal Seams
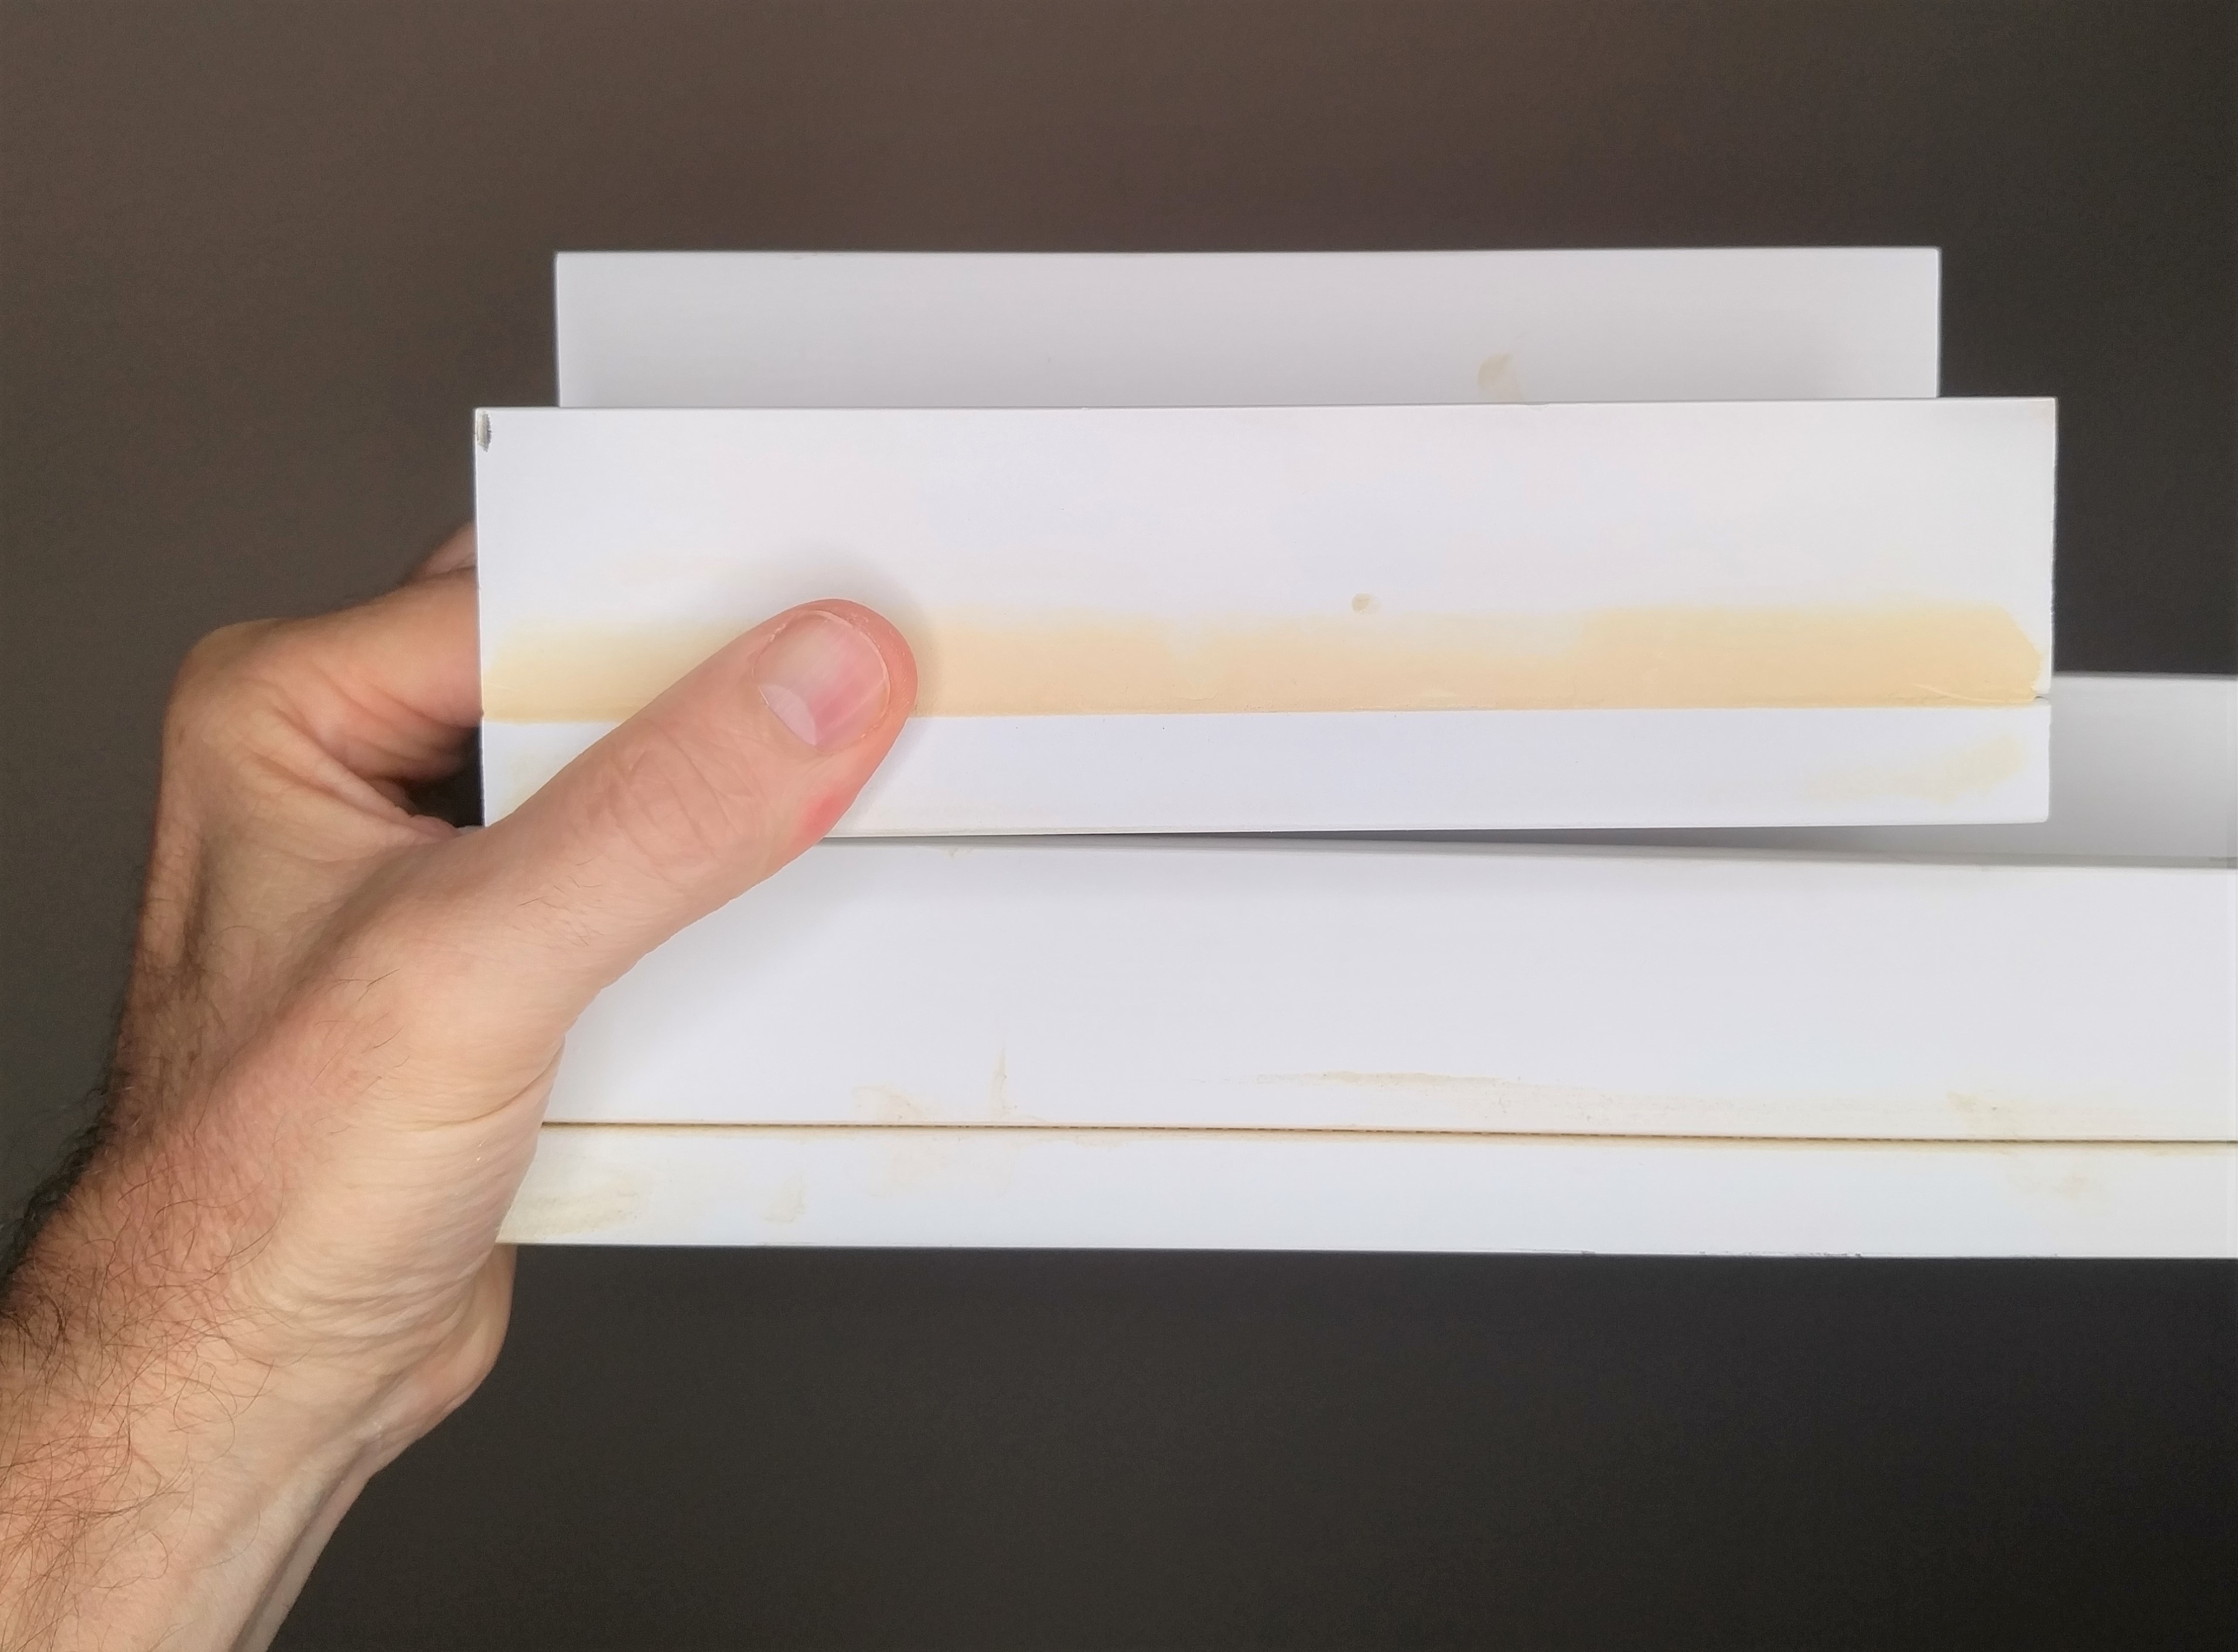
This is a variation I vacillated on but ended up doing: filling in the horizontal seams with wood filler. I’m always suspicious of wood filler’s long-term prospects. But I figured that this was an interior application and the filler would get primed over, giving it more strength.
