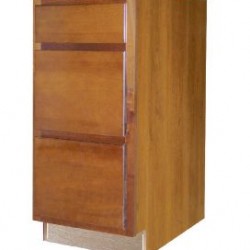
Base Cabinets as Kitchen Island
You’ll be using nothing more than stock base cabinets from your friendly ol’ orange-and-white home improvement store (or IKEA, Lowe’s…it doesn’t matter) and tools you’ve already got around the house.
About the only thing we don’t cover in this quick guide is the kitchen countertop–but since you’ll be using stock cabinets, you can also find stock counters to fit.
Tools and Materials

- 2 base cabinets. Size is up to you. The smallest that base cabinets come are 18 inches, so double them would bring the island length to 36 inches.
- Hammer
- Blue painter’s tape
- Cordless drill
- Set of drill bits
- Drywall screws
- 2 foot long 2×4
Process
Don’t try to screw the two base cabinets together. This will take care of itself later on when you put the cabinets in place.
- Put the two cabinets together and in the place you want the island to go.
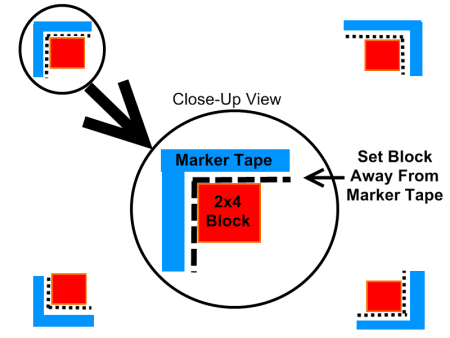
- Mark on the kitchen floor all 4 corners of your kitchen island with the painter’s tape.
- Move the cabinets away.
- Cut off 4 pieces of your 2×4, each piece about 3 or 4 inches long.
- Measure the thickness of your base cabinet walls.
- Now, measure in from the four marks you made on the floor–measuring inward that distance. So, if the base cabinet wall thickness is 3/8″, measure inward 3/8″.
- Create two pilot holes on each of your 4 wooden blocks, so that the drywall screws do not split the wood.
- Screw down each of the 4 block to the kitchen floor, precisely at each of the inside corners of the kitchen island.
- Set your base cabinets over the blocks. The blocks will hold the cabinets in place.
- On the side of the cabinets, drill one screw at each corner to help the cabinets stay in place on the blocks.
